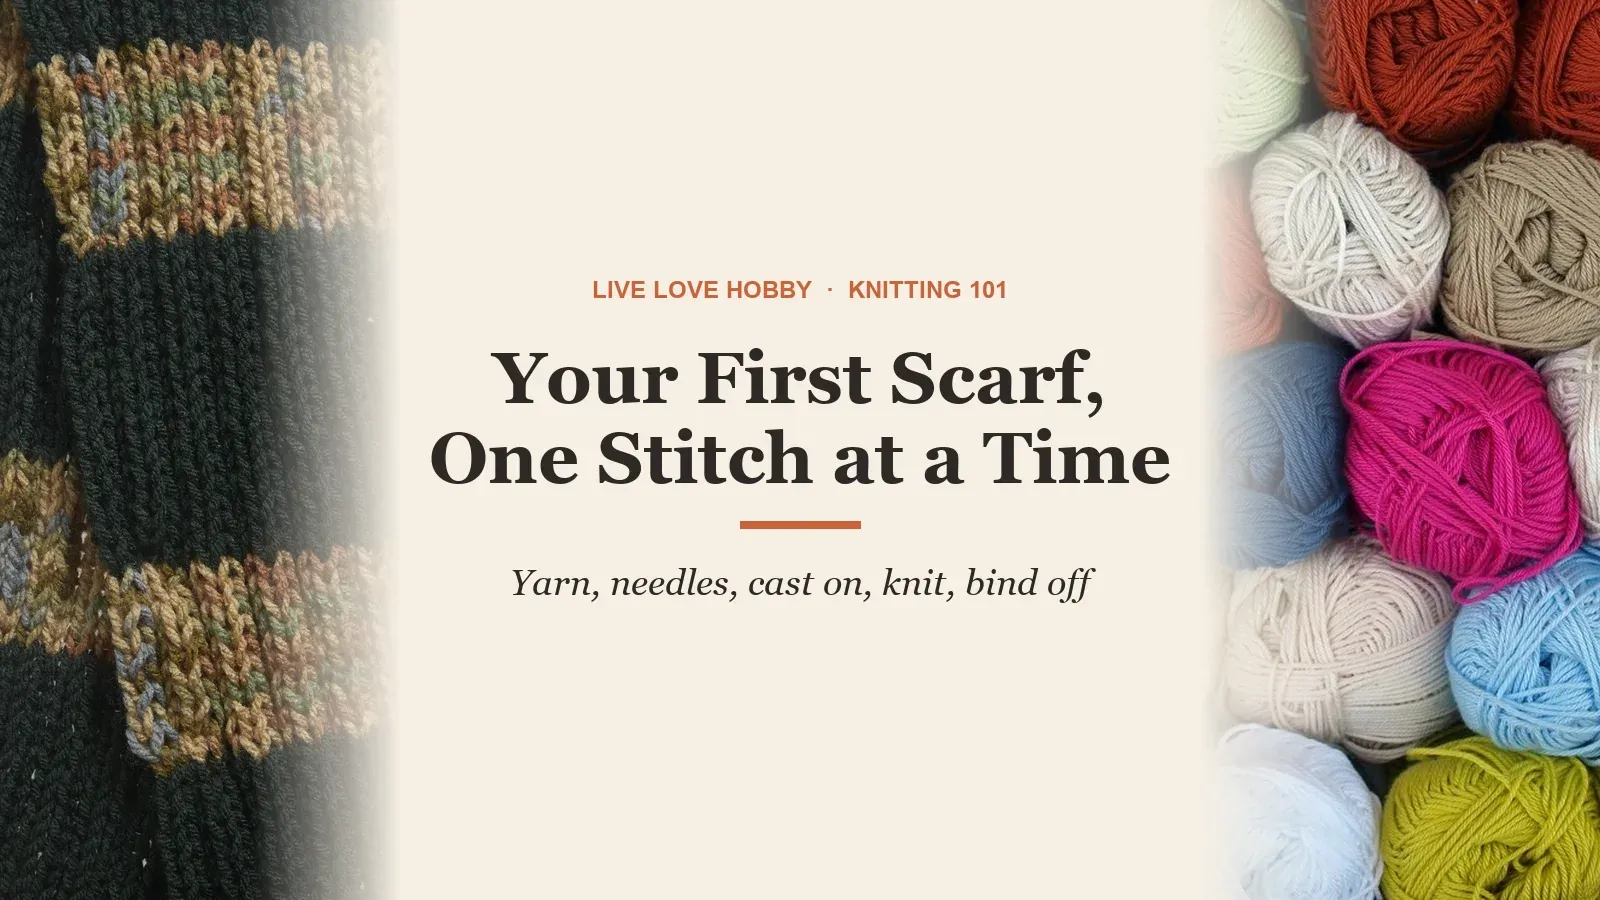
Picture a gray Sunday afternoon in late October. You are on the couch with two needles, a ball of chunky yarn and a video paused on your phone. The first row took twenty minutes. The second row has one stitch more than the first, and you are not sure where it came from.
Here’s the secret every knitter learns early: that wobbly start is exactly how everyone begins. Keep going, and in a few weeks the yarn in your lap could be a scarf around your neck.
Quick answer
To knit a scarf as a beginner, use a smooth, light-colored bulky or super bulky yarn with needles matched to the yarn label, cast on enough stitches for about 7 inches of width, and knit every row in garter stitch until it reaches your desired length. Then bind off and weave in the ends.
Key takeaways
- A garter-stitch scarf uses only one stitch: knit every row.
- Bulky and super bulky yarns work up faster and make stitches easier to see.
- Match your needle size to the yarn label, using the Craft Yarn Council chart as a guide.
- Count your stitches every few rows to catch dropped or extra stitches early.
- Studies of knitters link frequent knitting with feeling calm and happy.
Why is a scarf the best first knitting project?
A scarf is a flat rectangle. There’s no shaping, no counting rounds, no fitting. You cast on, knit the same row over and over, and bind off.
That repetition is what makes it such a good teacher. By the end of a scarf, you will have knit thousands of stitches, and your hands will remember the motion without you thinking about it.
The classic beginner scarf uses garter stitch, which simply means you knit every row. It makes a squishy, ridged fabric that lies flat and looks the same on both sides, so there’s no wrong side to worry about.
It’s also forgiving. Garter stitch hides small tension changes better than most patterns, and a scarf doesn’t have to fit anyone. If it ends up a little wider in the middle, it still keeps a neck warm.
What supplies do you need to knit a scarf?
You only need four things:
- Yarn. One to a few skeins, depending on the yarn’s thickness and how long you want the scarf. Your pattern or yarn label will tell you how much to buy.
- One pair of straight knitting needles. Matched to your yarn weight.
- Scissors. Any sharp pair will do.
- A yarn needle. A large, blunt needle with a big eye for weaving in loose ends when you finish.
Optional extras include stitch markers and a row counter, but you can manage without them on a first scarf.
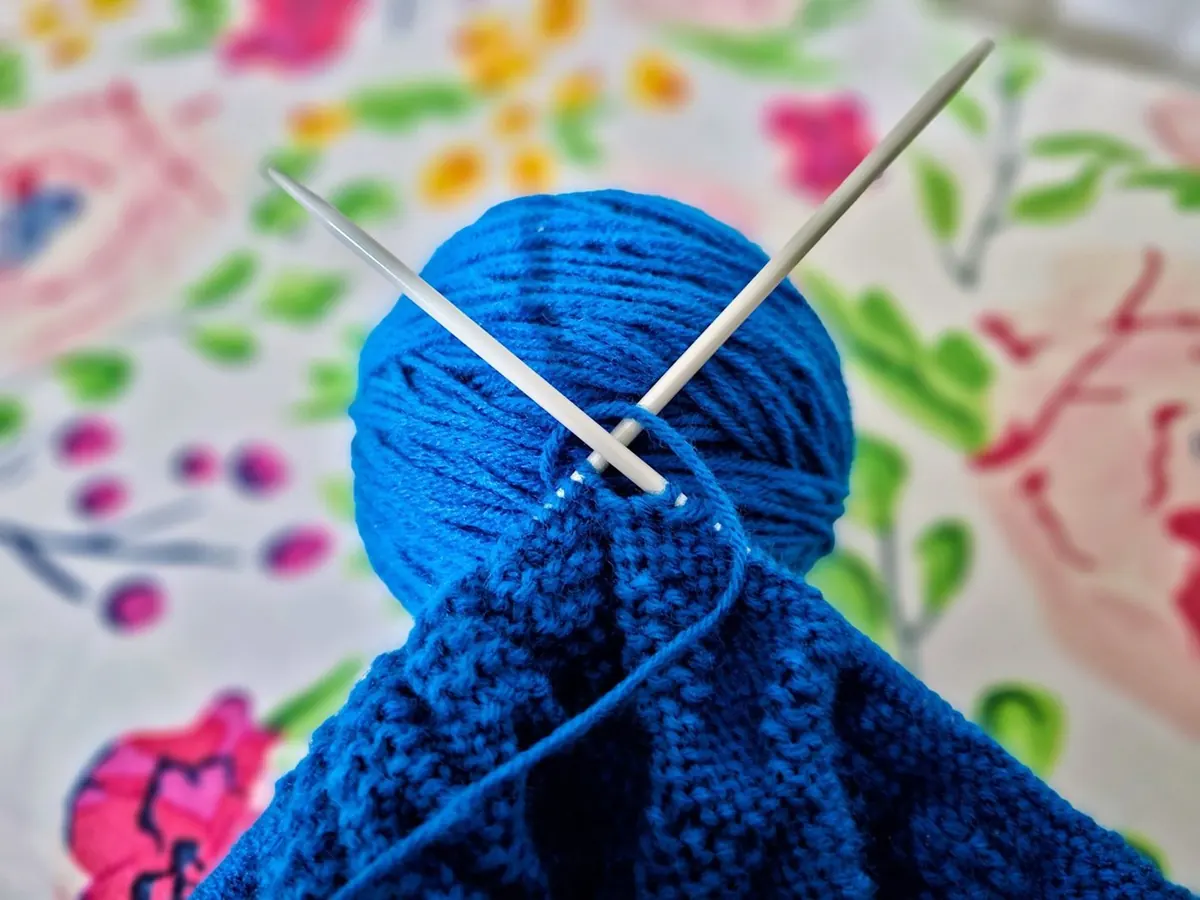
What yarn and needle size should a beginner use?
Yarn is sorted into numbered weight categories, from very fine to very thick. The Craft Yarn Council’s yarn weight system matches each weight with a typical needle size and gauge, meaning how many stitches you get per 4 inches of stockinette fabric. These are the three weights most beginners choose for a scarf:
| Weight | Common names | Typical needle size | Stitches per 4 inches |
|---|---|---|---|
| 4 (Medium) | Worsted, Afghan, Aran | US 7 to 9 (4.5 to 5.5 mm) | 21 to 24 |
| 5 (Bulky) | Chunky, Craft, Rug | US 9 to 11 (5.5 to 8 mm) | 16 to 20 |
| 6 (Super Bulky) | Super Bulky, Roving | US 11 to 17 (8 to 12.75 mm) | 12 to 15 |
The Craft Yarn Council calls these ranges guidelines only. Always check the label on your skein, which lists the recommended needle size for that specific yarn.
For a first scarf, many teachers suggest bulky or super bulky yarn. Thicker yarn means fewer stitches per row and fewer rows per inch, so the scarf grows faster and you can see each stitch clearly. Medium worsted yarn is a fine choice too, and it is easier to find in every color. It just takes longer.
A few more tips for choosing yarn:
- Pick a light or bright color. Black and navy make stitches hard to see.
- Choose smooth yarn. Fuzzy, bumpy or novelty yarns hide your stitches, which makes mistakes hard to spot.
- Think about care. A machine-washable blend is easy to live with. Lion Brand’s Wool-Ease Thick & Quick, for example, is a super bulky blend of 80% acrylic and 20% wool that the company says can be machine washed and dried. It lists at $10.99 a skein on the brand’s site.
How many stitches should you cast on for a scarf?
Start with the width you want. Many scarves are somewhere around 6 to 8 inches wide. Then use your yarn’s gauge to work out how many stitches that takes.
Here is a real example. Lion Brand’s free Neck’s Best Thing scarf pattern is rated Level 2, Easy (Beginner+), and is worked in garter stitch in super bulky yarn. Its gauge is 9 stitches and 16 rows to about 4 inches, and the finished scarf measures about 7 by 52 inches.
At that gauge, the math is simple: 9 stitches per 4 inches is a little over 2 stitches per inch, so about 16 stitches gives you roughly 7 inches of width. For length, 16 rows per 4 inches means about 208 rows for a 52-inch scarf.
If you follow a pattern, use its numbers. If you’re improvising, knit a small test square first, measure it, and adjust.
Try this weekend: a practice swatch
- Cast on 12 stitches with your scarf yarn and needles.
- Knit every row until the square is roughly as tall as it is wide.
- Count your stitches at the end of every row to make sure you still have 12.
- Bind off, then measure how many stitches fit in 4 inches to check your gauge.
Time: about an hour. Cost: nothing extra, since it uses the yarn you bought for your scarf.
More project ideas
How do you cast on, knit and bind off?
These are the only three skills a garter-stitch scarf needs. Watching a short video for each step alongside these instructions helps many beginners.
Casting on
Casting on puts the first row of loops on your needle. The long-tail cast-on is a popular choice because it’s neat and stretchy. A simpler alternative for absolute beginners is the knitted cast-on, which uses the same motion as the knit stitch itself.
- Make a slip knot and place it on one needle.
- Insert the second needle into the loop from front to back.
- Wrap the working yarn around the back needle and pull a new loop through.
- Slide the new loop onto the first needle. Repeat until you have the stitches you need.
The knit stitch
Hold the needle with the stitches in your left hand and the empty needle in your right.
- Insert the right needle into the first stitch from front to back, under the left needle.
- Wrap the yarn around the right needle, counterclockwise.
- Pull the right needle back through the stitch, catching the new loop.
- Slide the old stitch off the left needle. One stitch done.
Repeat across the row. When all the stitches are on the right needle, swap needles so the full one is in your left hand again, and start the next row. In garter stitch, that’s the whole pattern.
Binding off
When the scarf is long enough, bind off to lock the stitches so they won’t unravel.
- Knit two stitches onto the right needle.
- Use the left needle to lift the first stitch over the second and off the needle.
- Knit one more stitch and lift the previous one over it again.
- Repeat until one stitch remains. Cut the yarn, leaving a tail, and pull it through the last loop.
Bind off loosely. A tight bind-off makes the end of the scarf pucker. If you tend to knit tightly, try binding off with a needle one size larger.
Finally, thread each loose end onto your yarn needle and weave it through a few inches of stitches along the edge before trimming.

How do you fix the most common beginner knitting mistakes?
Every new knitter runs into the same handful of problems. None of them ruin a scarf.
- Extra stitches appearing. This usually happens when the yarn goes over the needle at the start of a row, making one stitch look like two. Keep the working yarn hanging down in front of you, below the needle, before you start each row.
- A dropped stitch. If a loop slides off and starts to run, catch it with a safety pin or spare needle right away. A crochet hook makes it easy to ladder it back up row by row.
- Uneven tension. Tight and loose rows are normal at first. They even out with practice, and a gentle wash and lay-flat dry after finishing helps the stitches settle.
- Wavy edges. Some knitters slip the first stitch of every row for a neater edge. It’s optional, but worth trying on your second scarf.
The best habit you can build is counting. Count your stitches every few rows. If the number changes, you can fix the problem before it grows.
One more thing to watch: your body. Long sessions with tense shoulders and a hunched back add up. Our guide on why your body hurts after crafting covers posture, breaks and simple stretches. If pain in your hands or wrists persists, check with a doctor or physical therapist.
Why do so many people find knitting relaxing?
Knitters often describe the rhythm of the needles as soothing, and there is some research behind that. An international survey published in the British Journal of Occupational Therapy in 2013 drew over 3,500 responses from 39 countries, according to a research summary from Stitchlinks, a knitting and wellbeing organization. The researchers found a significant relationship between how often people knit and feeling calm and happy.
That survey reached people who already loved knitting, so it doesn’t prove knitting causes calm. But it matches what many beginners notice by the end of their first scarf: the counting, the repetition and the slowly growing fabric give the mind something steady to hold onto.
What should you knit after your first scarf?
Once you’re comfortable with the knit stitch, learning the purl stitch opens up ribbing, stockinette and simple textures. Our roundup of basic knitting patterns for beginners has natural next steps, like a ribbed scarf, a simple hat or a set of dishcloths.
Many knitters also make a second garter scarf right away, this time faster, neater and with a little more confidence. Gifting it is optional.
Back on that couch in late October, the stitch count finally holds steady at 16. Row by row, a few evenings at a time, the fabric grows. By the first truly cold morning, you won’t be the person learning to knit. You’ll be the person wearing the scarf you made.
Share your project
Did your first scarf make it off the needles? Send us a photo, uneven edges and all, and tell us how many tries the first row took. We’d love to celebrate your first finished knit.
Frequently asked questions
How long does it take a beginner to knit a scarf?
It depends on the yarn weight, the scarf's size and how often you knit. A super bulky garter scarf has far fewer stitches than one in worsted yarn, so it finishes much faster. Knitting a little most evenings, many beginners finish within a few weeks.
Is knitting or crochet easier for beginners?
Both are beginner-friendly. Knitting keeps many live stitches on the needle, while crochet works one loop at a time, which some people find easier to manage. If you want to compare, our crochet guides for beginners are a good starting point.
What size needles do I need for a chunky scarf?
For bulky (weight 5) yarn, the Craft Yarn Council suggests US 9 to 11 needles, and for super bulky (weight 6), US 11 to 17. Your yarn label lists the recommended size for that specific yarn, so check it before you buy needles.
Can I knit a scarf without a pattern?
Yes. A garter-stitch scarf only needs a width, a length and the knit stitch. Knit a small test square, measure your stitches per inch, multiply by the width you want, and knit until it's long enough.
Why is my knitting getting wider?
Extra stitches usually come from accidentally knitting into the same stitch twice or wrapping the yarn over the needle at the start of a row. Count your stitches every few rows so you catch the change early.
Sources
- Craft Yarn Council: Standard Yarn Weight System
- Lion Brand Yarn: Wool-Ease Thick & Quick Yarn
- Lion Brand Yarn: Neck's Best Thing Graphic Scarf knitting pattern
- Stitchlinks: Research summary on the benefits of knitting
Read us often? Make Live Love Hobby a preferred source in Google Search and see our reporting more often in Top Stories.